Getting started
Run the installer
Run the installer against one or more Ubuntu machines, screen by screen, and know what each screen does to them.
Run the installer on an Ubuntu 24.04 machine, one of the servers or any other. It asks for your domain and your tokens, and finds your Ubuntu machines. On the one you select, it prepares the machine, installs Kubernetes and deploys the platform. The installer does all the work on the server over SSH. When it says Complete, open control.<your domain> and log in.
You install Thinkube onto machines you own. Any machine with Ubuntu 24.04 and a desktop can run the installer. It can be one of the servers or a separate one. The installer checks that machine before anything else. Then it asks for accounts and tokens, prepares the server, installs Kubernetes, and deploys the platform. At the end it shows the addresses and the login it created.
This page follows the wizard in the order its screens appear, and says what each screen does to your machines.
Before you start
Have everything on Install Thinkube ready: the installer, a prepared machine, and your accounts and tokens.
A separate machine you install from does not become a node. After the install, the tokens are on the control plane, and you no longer need the machine you installed from.
1. Welcome
The first screen names the three phases: a system requirements check, cluster configuration, and automated deployment. Press Get Started.
2. System requirements
The installer checks the machine it is running on. Required: Ubuntu 24.04.x LTS, a non-root user with sudo, OpenSSH server, network connectivity, and free disk space in your home directory. Tools it can install if missing: Git, the OpenSSH client, a Python virtual environment, and Ansible inside that environment.
Every required item must pass before you can continue.
3. Sudo password
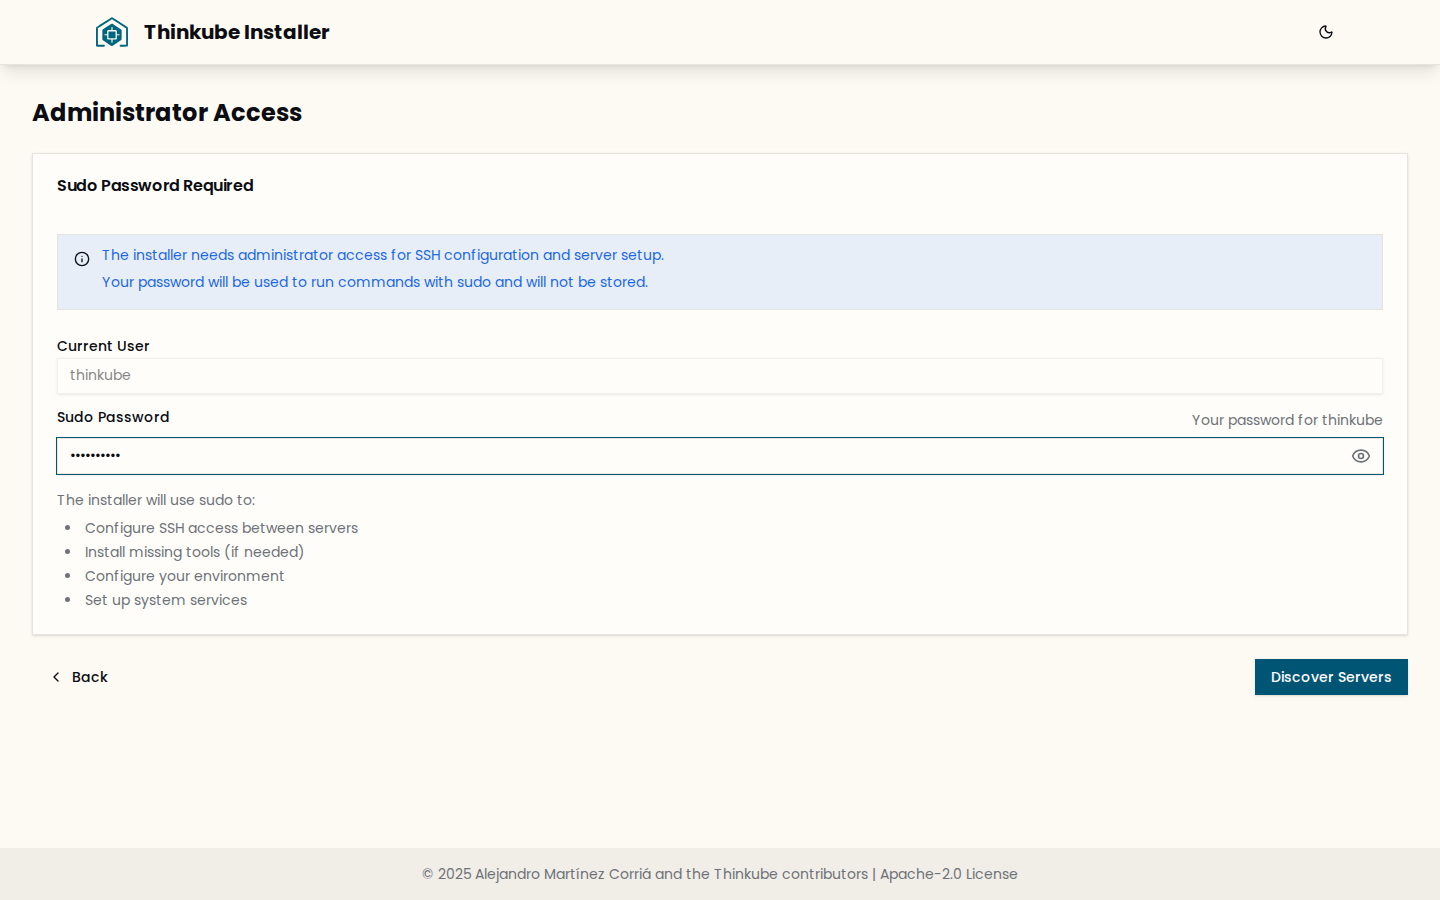
Enter the sudo password of your user. The installer uses it to configure SSH to the server, install missing tools, set up its environment, and configure system services. The password is not written to disk.
The same password must work on every server you select next; the SSH screen checks it.
4. Server discovery
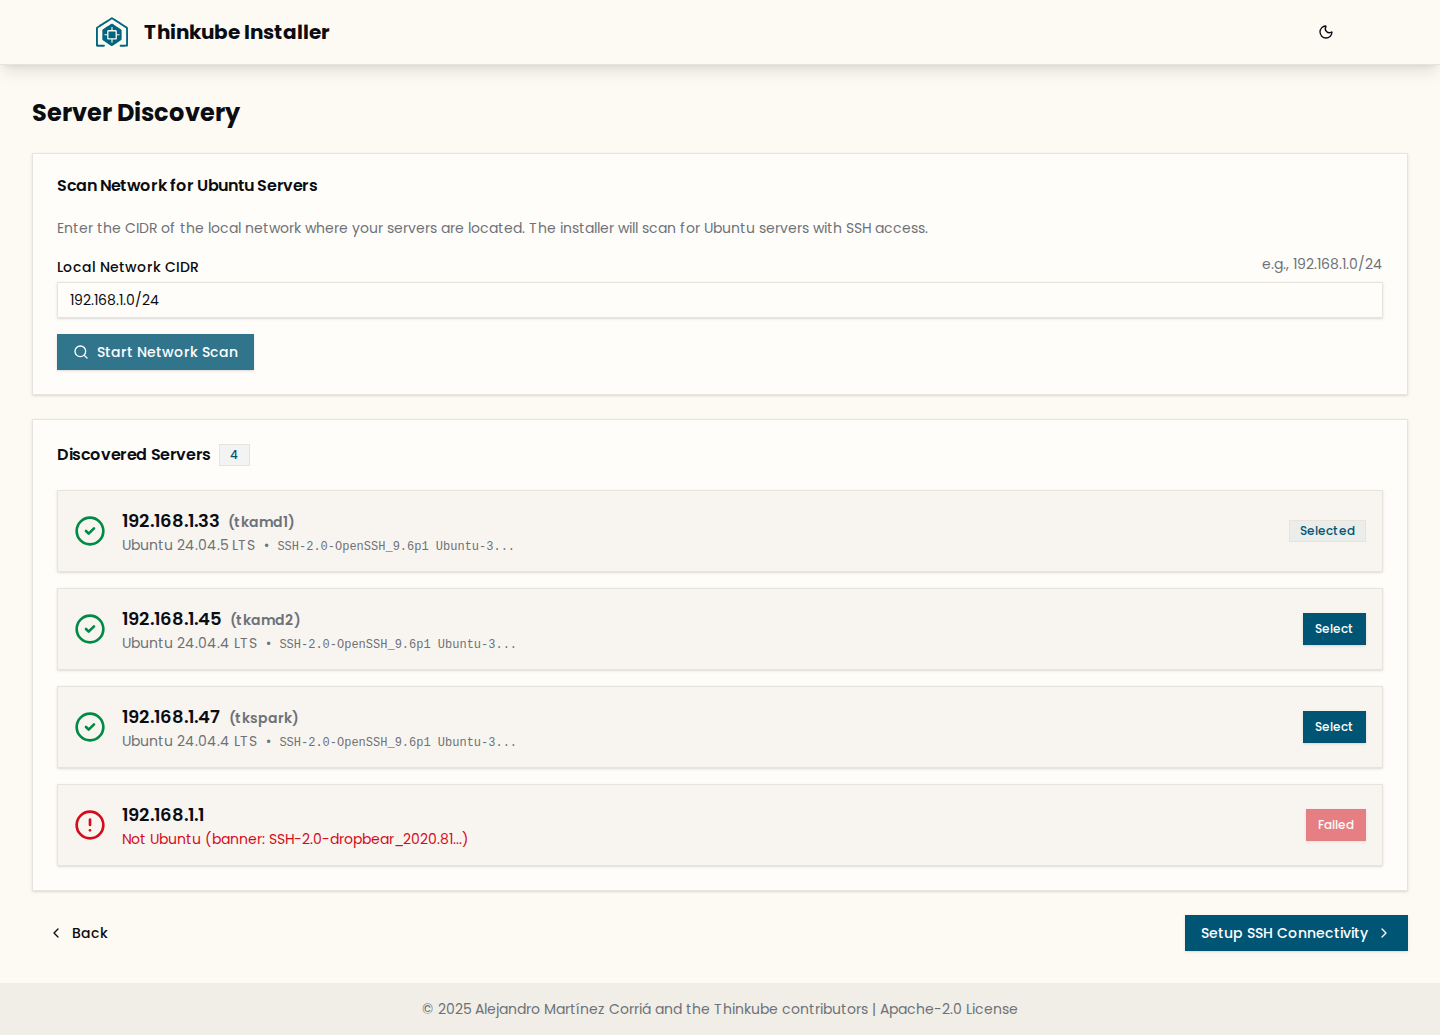
Enter the network to scan as a CIDR, for example 192.168.1.0/24, and press Start Network Scan. Each discovered server is listed with its IP address, hostname, operating system and whether SSH is reachable. A machine that is not Ubuntu is marked Failed. Press Select on each server to install on, and Deselect to take one out again, then Setup SSH Connectivity. One of them becomes the control plane and the others workers; you choose which on the Role Assignment screen. You can also add machines later from Thinkube Control — Add more nodes.
5. SSH setup
The installer verifies that it can reach every selected server, then configures passwordless SSH between them: it generates keys where needed and distributes them. If a server cannot be reached, check that SSH is running there and that the sudo password is the same as on the machine you install from.
6. Hardware detection
For each server the installer reads CPU cores, memory, disk and GPUs, and sums them in a capacity summary. It also reads the NVIDIA driver on each server with a GPU. The driver must be version 580.0 or newer. An older driver is reported as outdated and the installer offers to install a compatible one. A GPU older than the Volta generation is reported as unsupported. If no server has a usable GPU you can continue without a GPU, or stop.
7. Role assignment
Choose one control plane. It must be a physical machine, not a virtual one, with at least 16 CPU cores and 64 GB of memory. A smaller machine cannot be chosen. Every other server becomes a worker. With a single server, the control plane also runs your workloads. GPU nodes serve and train models.
With a DGX Spark, install on another machine and add the Spark later as a worker, so its memory stays free for AI work. On a DGX Spark, the GPU and the system share one pool of memory. The control plane runs more than Kubernetes. It also runs Thinkube Registry, Thinkube Identity, the database, Thinkube Git and the image builds. As a worker, the Spark keeps its memory for models, notebooks and fine-tuning.
8. Configuration
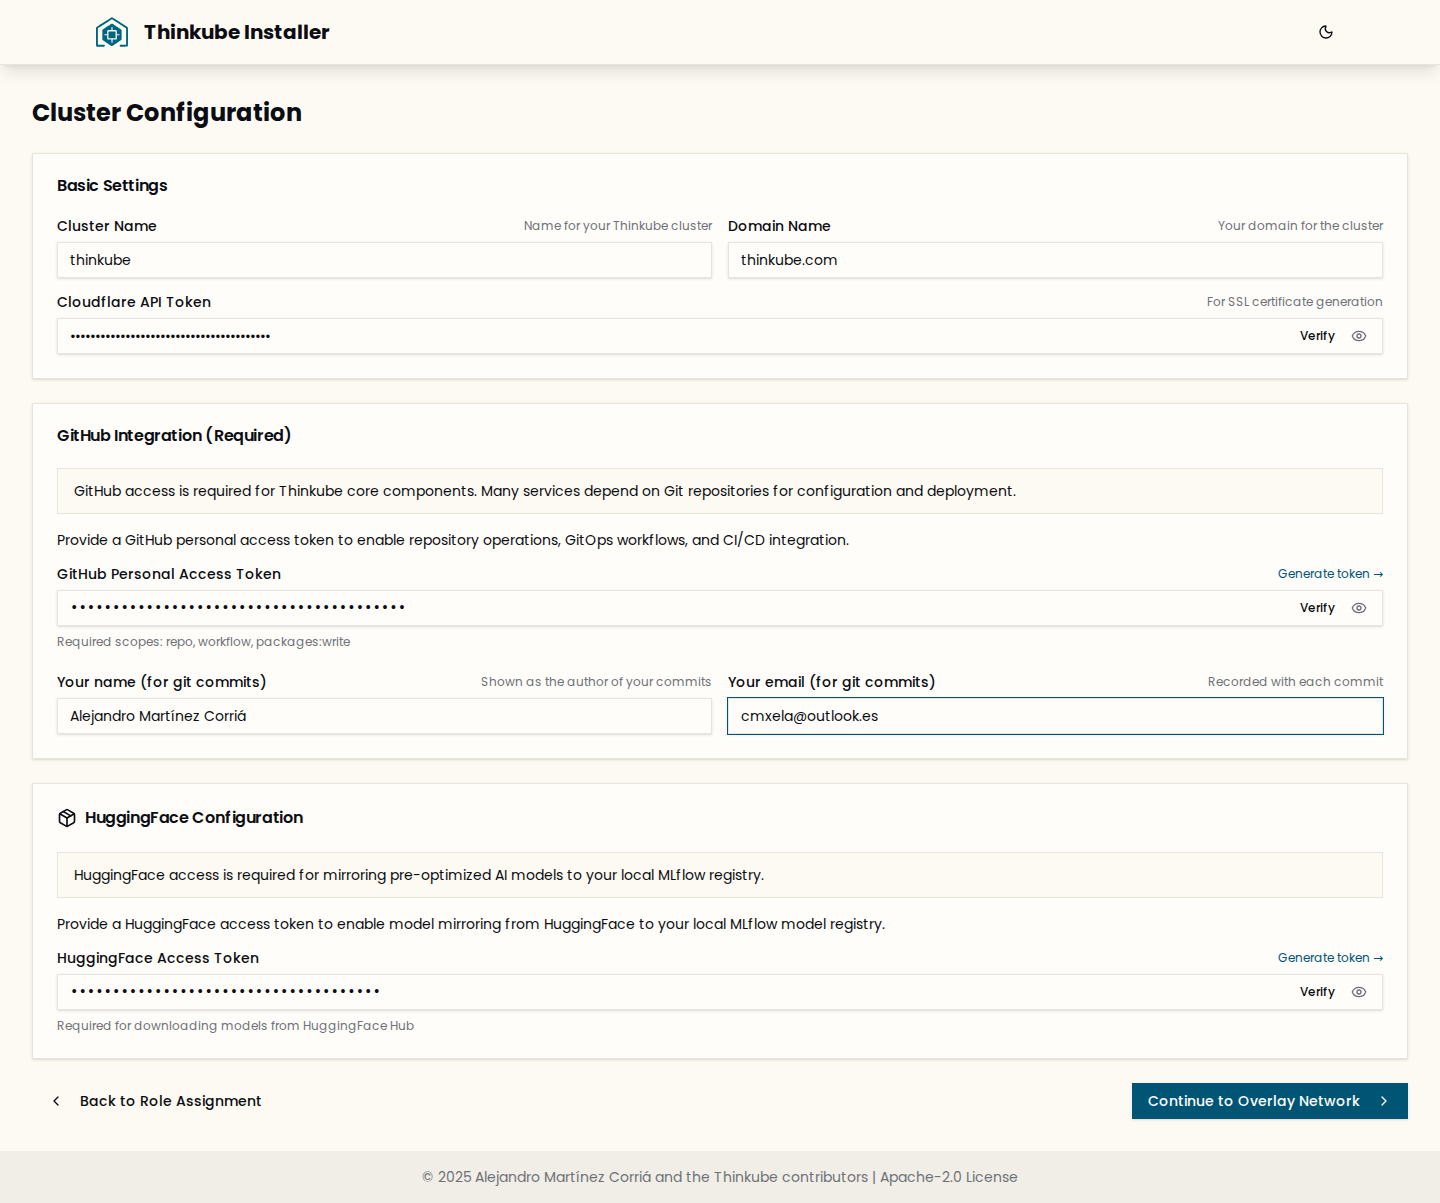
Enter the cluster name, your domain, and the tokens:
-
the Cloudflare API token, used to obtain certificates;
-
the GitHub personal access token; repositories are created in the account that owns it;
-
the Hugging Face access token.
The screen also asks for your name and email. They are the author of the commits you make on the platform.
Press Verify next to a token to check it now: the installer calls the service and shows a green mark when the token works and has the access it needs. When you continue, the installer verifies every token you have not verified yet.
9. Overlay network
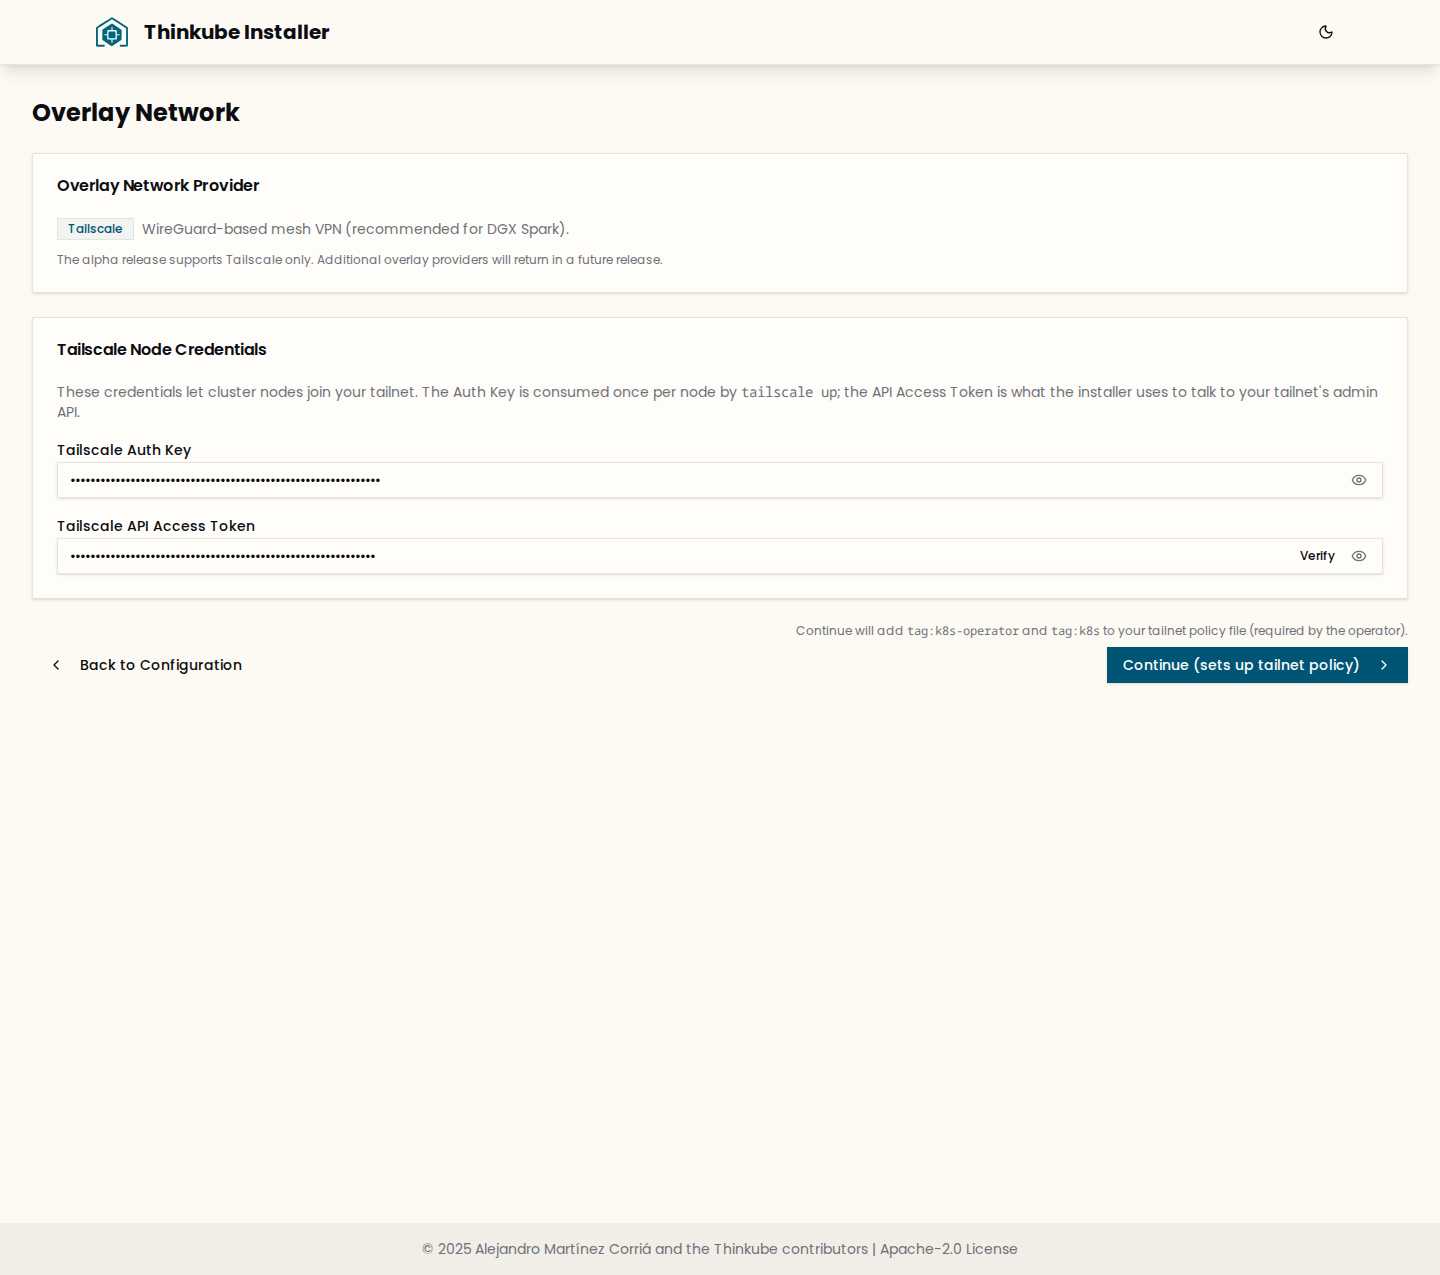
Tailscale is the only overlay network supported. Enter the Tailscale auth key, which each node consumes once when it joins the tailnet, and the API access token, which the installer uses to talk to your tailnet’s admin API. Press Verify. When you continue, the installer adds the tag:k8s-operator definition to your tailnet’s policy file; the next screen needs it.
10. Tailscale operator
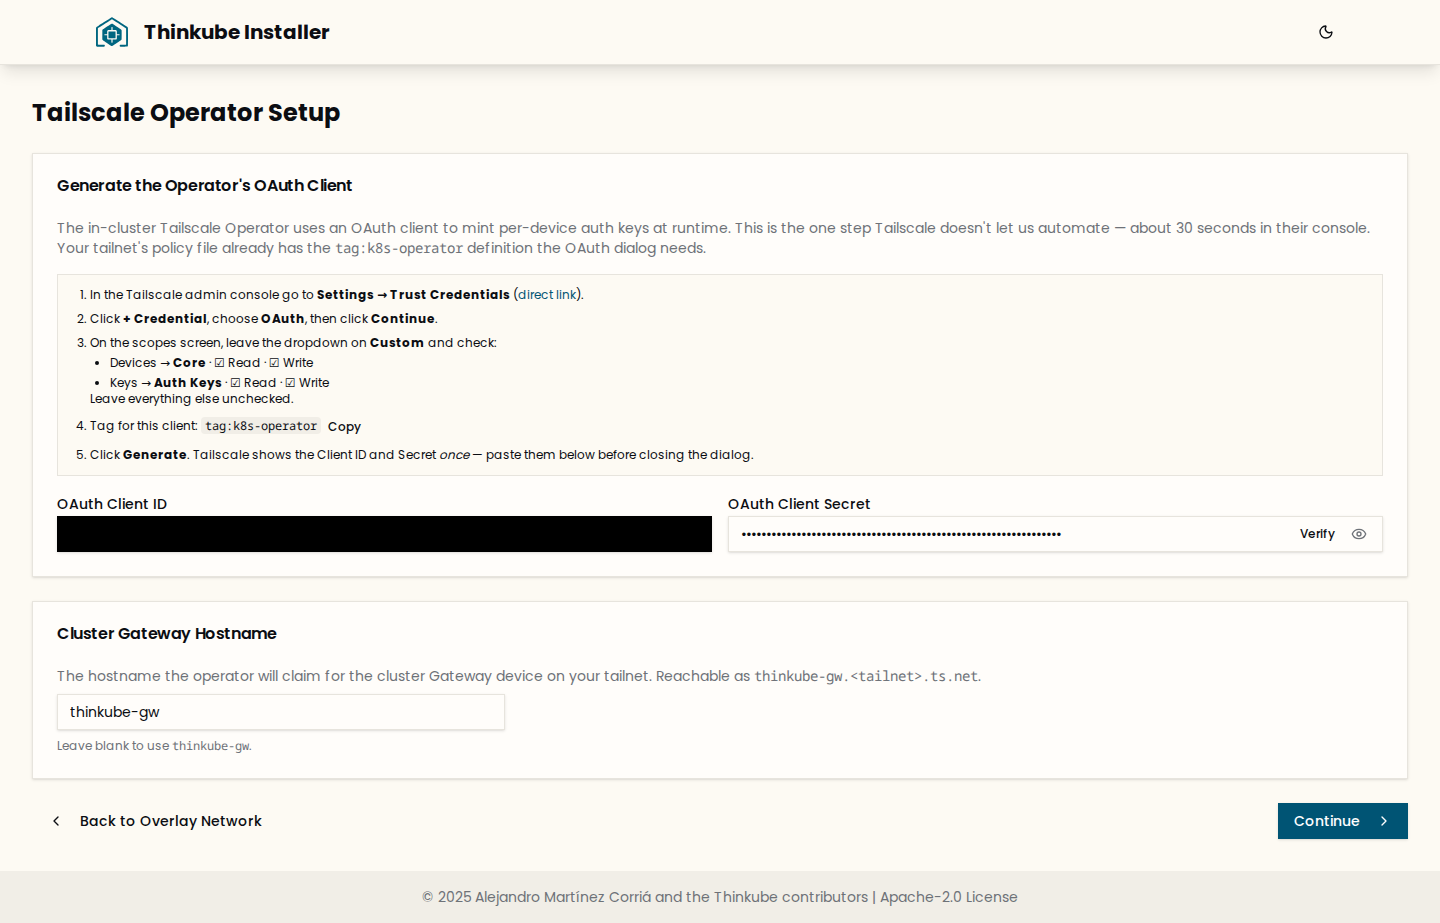
The cluster runs the Tailscale Kubernetes operator, which needs an OAuth client. The operator uses it to add the cluster’s gateway to your tailnet. Tailscale does not let the installer create that client, so this is the one step done in Tailscale’s own console. The screen lists it: open Settings → Trust Credentials, add an OAuth credential with the Devices → Core and Keys → Auth Keys scopes, read and write, tagged tag:k8s-operator, and paste the client ID and secret. Press Verify.
The same screen asks for the gateway hostname the operator will claim on your tailnet. Leave it blank to use <cluster name>-gw. It becomes reachable as <name>.<your tailnet>.ts.net.
11. Overlay setup
The installer installs Tailscale on every selected server and joins each one to your tailnet, then shows the overlay address of each node. Tailscale assigns the addresses; nothing is entered here.
12. Network configuration
This screen shows the network overview for you to check: the overlay range Tailscale uses, the container build architectures detected from the servers, and each server with its addresses and role.
13. Review
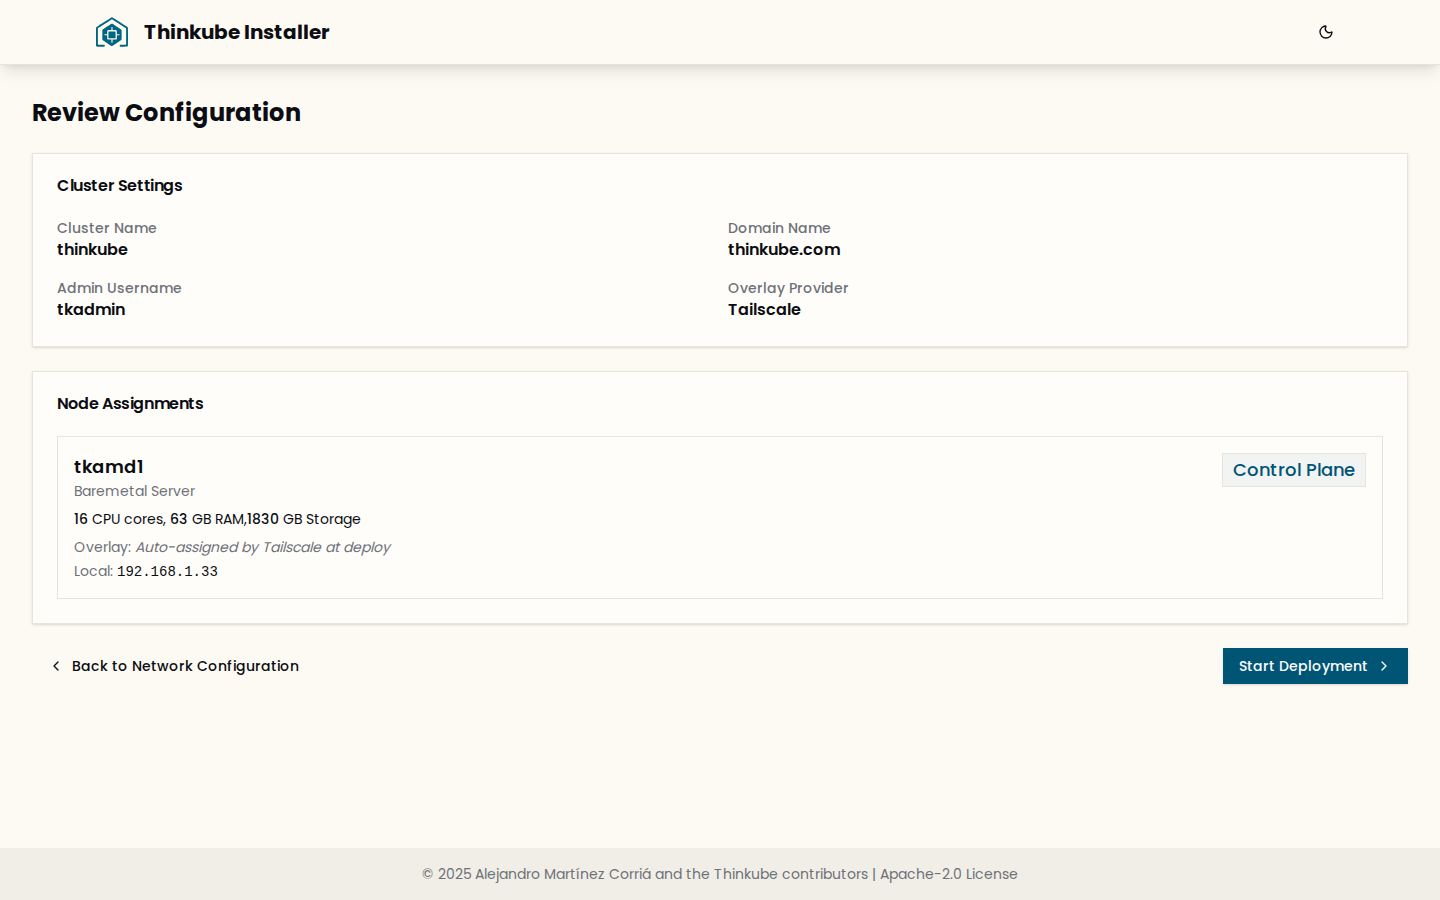
The last look before anything is installed: cluster name and domain, the admin username, the overlay provider, and the node with its hardware, addresses and role. Press Start Deployment.
14. Deployment
The installer runs the platform’s playbooks in order and streams their output. The phases, in the order they run:
| Group | Phases |
|---|---|
Machines |
Setting up environment · Persisting user secrets to the control plane · Expanding the LVM root volume to use the full disk · Applying DGX Spark unified-memory tuning · Setting up Python virtual environments · Setting up the GitHub CLI |
Network |
Configuring Tailscale overlay routing · Setting up Python Kubernetes libraries |
Kubernetes |
Installing Kubernetes (kubeadm) · Joining worker nodes (when there are workers) · Installing the NVIDIA GPU Operator · Configuring resource policies · Installing the Tailscale Kubernetes operator |
Certificates and DNS |
Setting up SSL certificates · Configuring the certificate renewal hook · Deploying Gateway API · Deploying the DNS server (BIND9) · Deploying CoreDNS · Configuring node DNS |
Platform |
Installing PostgreSQL · Installing Keycloak · Installing Harbor · Mirroring public images · Building base images · Building Jupyter images · Building the code-server image · Installing SeaweedFS · Installing JuiceFS · Installing Argo Workflows · Installing ArgoCD · Installing DevPi · Installing Gitea · Installing code-server · Installing MLflow · Installing JupyterHub · Deploying Thinkube Control |
Most of the time goes to downloading container images and building the ones this cluster’s architectures need. If no new output appears for some minutes, it is pulling or building an image. A failed phase stops the deployment; the output names the task that failed.
If a step fails, the Deployment screen names it and offers Retry, which runs that step again. Copy Failed Log and Download All Logs keep the output for a support request. Closing the installer loses the progress; the next run starts from the first screen.
15. Complete
The final screen shows:
-
Thinkube Control at
https://control.<your domain>; -
Thinkube IDE, VS Code in the browser (code-server), at
https://ide.<your domain>(the screen labels it Code Server); -
SSH access to the control plane as your user;
-
the single sign-on username and password. They are shown once. Save them; they open every service.
-
how to reach the cluster over Tailscale: the gateway is a tailnet device named as you chose in step 10,
tailscale ip <gateway>prints its address, anddig +short control.<your domain>should print the same address from any device on your tailnet. Each node is also a tailnet device, so you can SSH to it directly.
What it changed on your machines
The installer adds these to each node:
-
Kubernetes: kubeadm, kubelet, kubectl and containerd packages,
/etc/kubernetes,/var/lib/kubelet,/var/lib/etcd, and the CNI configuration. -
Container tools: podman, buildah, skopeo, podman-compose, podman-toolbox, qemu-user-static and binfmt-support.
-
Tailscale, joined to your tailnet.
-
Storage: SeaweedFS, JuiceFS and OpenEBS rawfile volumes, with their data.
-
System:
thinkube-*systemd units; a network interface for the cluster’s fixed address; kernel and memory settings (on a DGX Spark: swap off and memory tuning); DNS settings; and the Kubernetes and Tailscale apt repositories. -
Your home directory:
~/.envwith the tokens, andshared-code, the workspace that Thinkube IDE, the notebooks and Thinkube Control share.
The installer leaves Ubuntu, its packages, the kernel, netplan, your account and its sudo rights, sshd, and the NVIDIA driver as they are.
Next
-
Add more nodes when you have a second machine.
-
Serve your first model to mirror a model, load it and call it.