Thinkube GitOps
Build a web app from the template
A full-stack app with a database and a login, at its own address, from one sentence
- Level
- beginner
- Time
- 30 min
- Risk
- low
- Updated
- 2026-10-04
Overview
Basic idea
A web application has several parts that must work together: a frontend that runs in the browser, a backend that holds the logic, a database, a login, and an address with a certificate. Cloud platforms such as Heroku or Google App Engine assemble those for you from your code, and every push to git ships a new version.
The web app template gives you the same on Thinkube. It is a working task manager, React in the browser and FastAPI on the server, with PostgreSQL and sign-in through Thinkube Identity. Deploying it creates everything around it and gives you your own copy of the code to change.
-
A running app. Built, tested and deployed at
<name>.<your domain>, behind your login. -
A database of its own. PostgreSQL, created for the app.
-
Your repository. The code in Thinkube Git and checked out in Thinkube IDE, ready to change.
What you’ll accomplish
You deploy the template as notes, sign in to it, create a task, and see what the platform assembled for it.
What to know before starting
Required
-
Asking your agent in Thinkube IDE to do things on the platform.
Optional
-
Thinkube GitOps, to see how a push becomes a running app.
-
What is in the web app template, the file-by-file tour.
Instructions
Step 1. Deploy the template
The name you choose becomes the app’s address, its database, its login client and its folder.
Ask your agent:
› make an app called notes from the web app template
The agent deploys the template and waits until it is done.
Or by hand: in Thinkube Control open Templates, choose tkt-webapp-react-fastapi, name it notes and deploy.
Expected output:
status: success
output: Deployment completed successfully
duration: 208.8
Step 2. Sign in and use it
Open https://notes.<your domain>. Thinkube Identity asks you to sign in, then the app opens with its name, Notes, in the sidebar. Choose Create Task, give it a title and press Create.
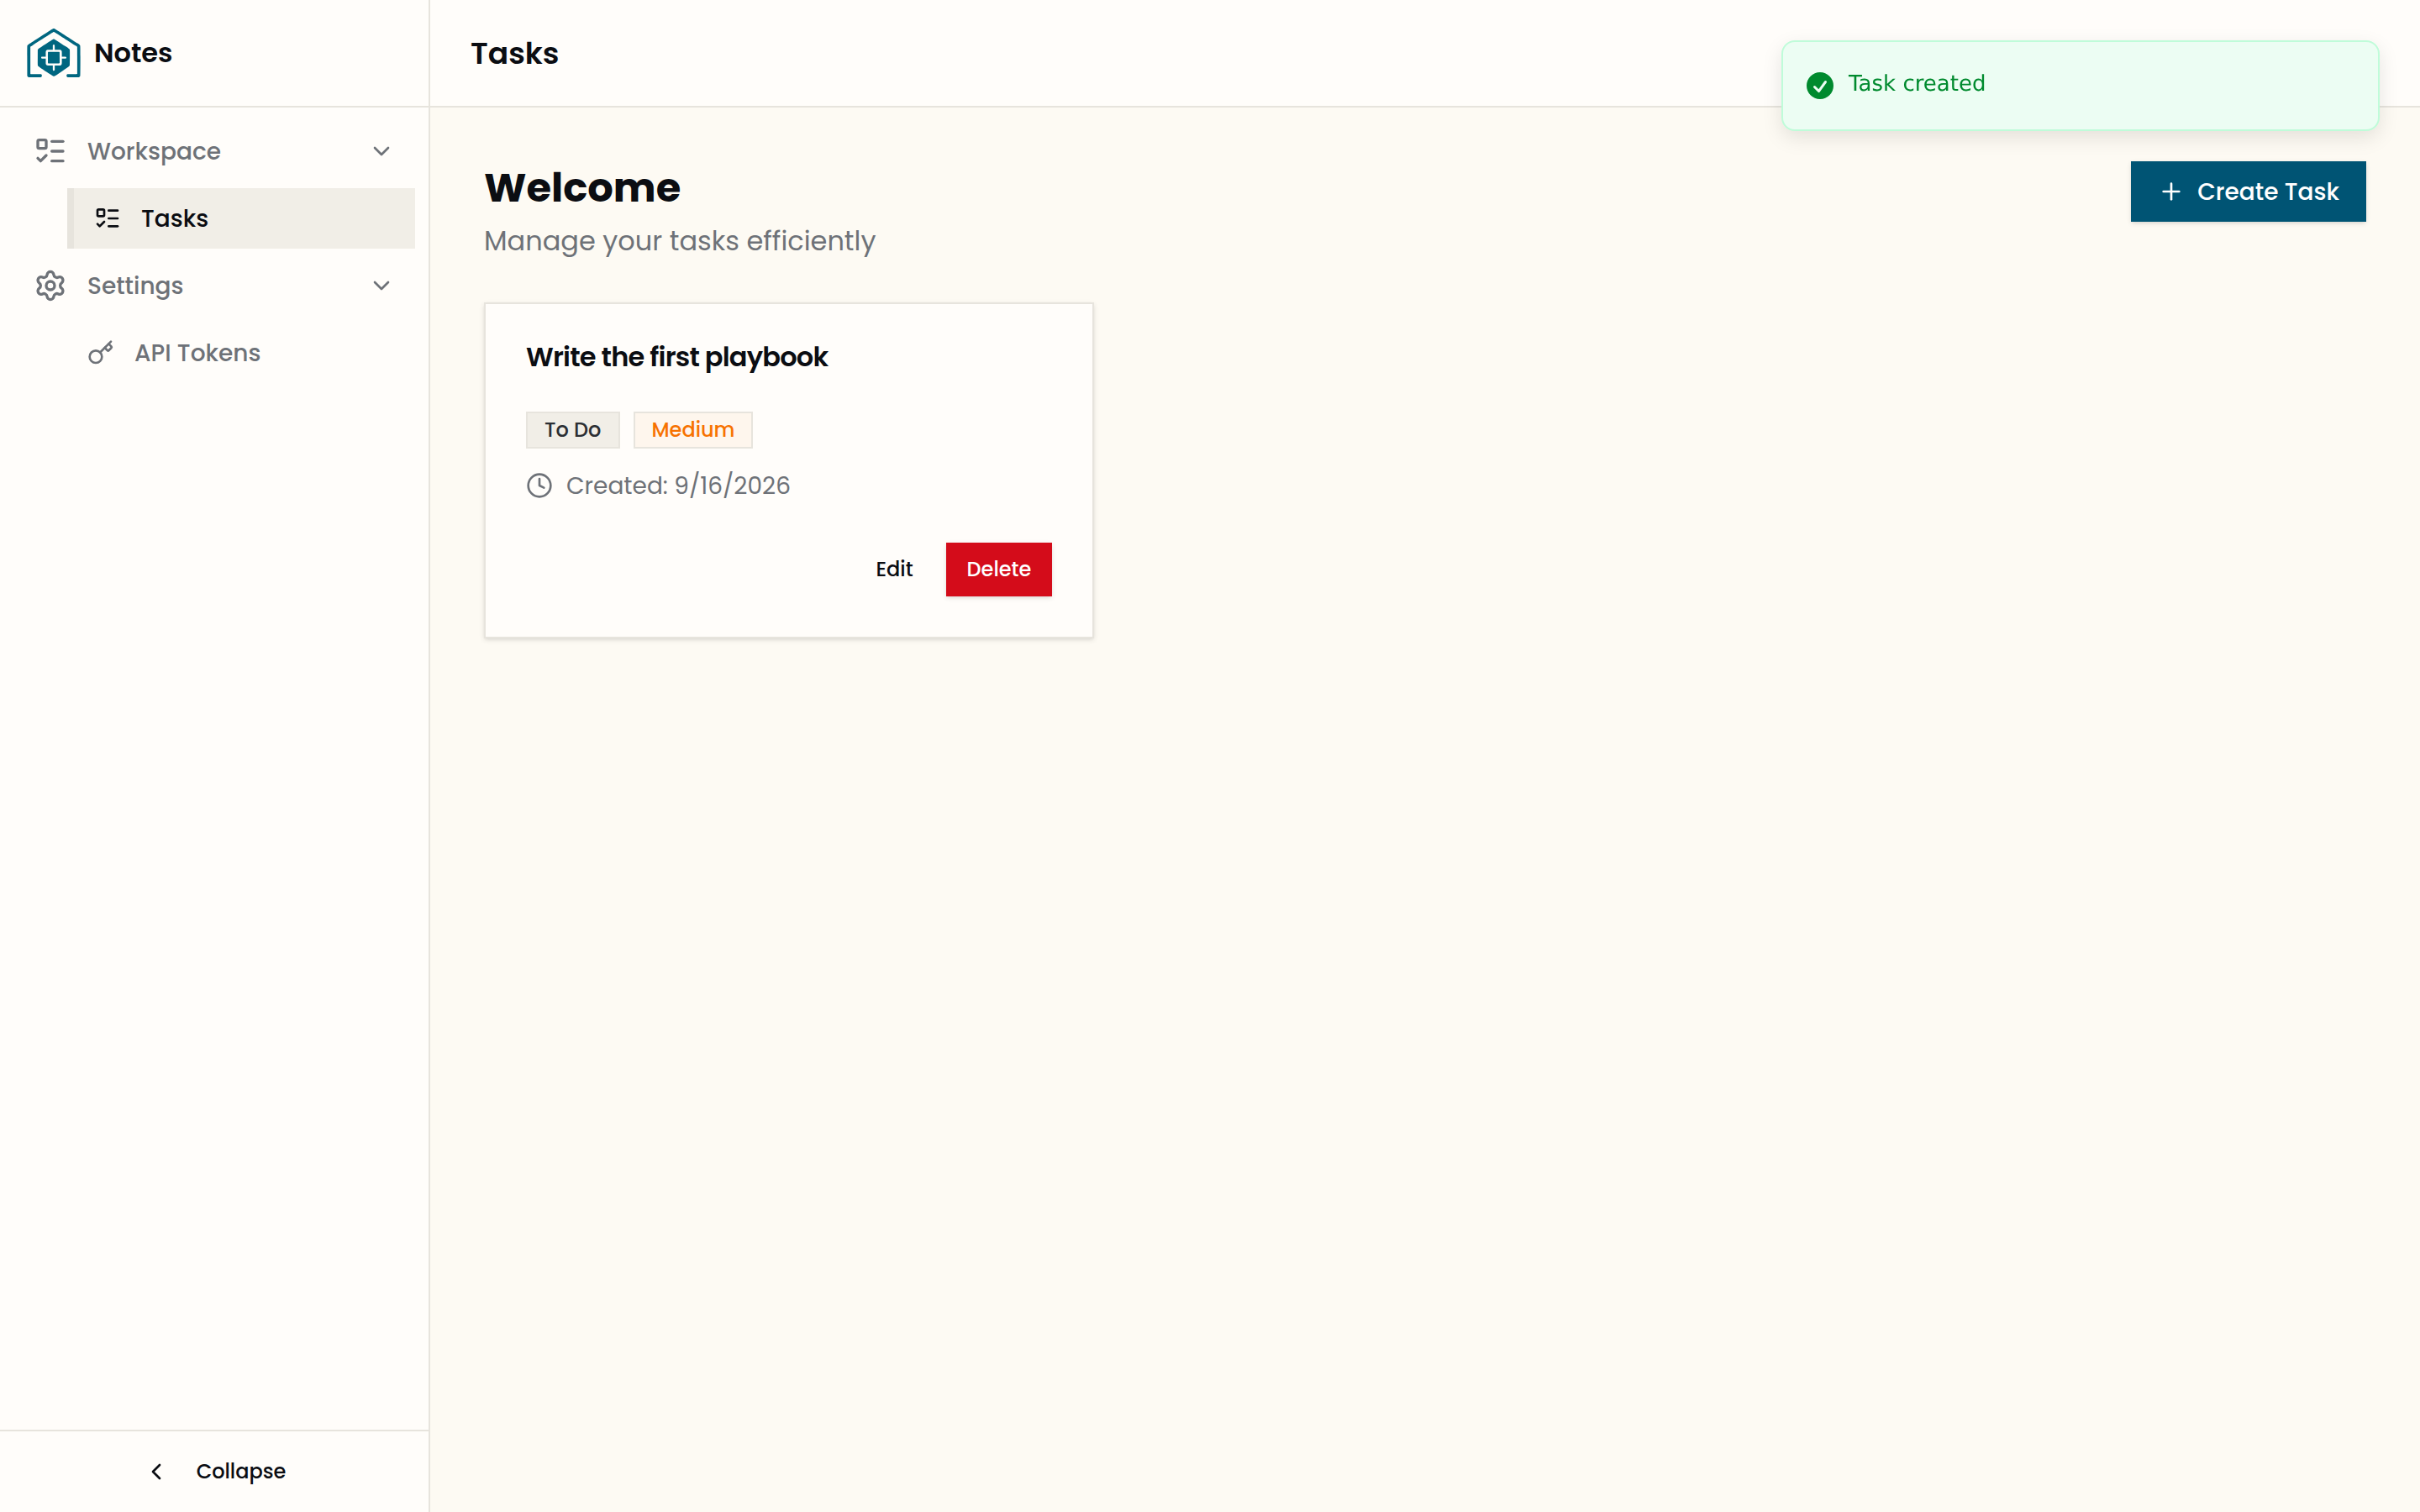
The task is stored in the app’s own database, under your user.
Step 3. See what the platform assembled
Ask your agent:
› what did the deploy create for notes?
Expected output, from the reference run:
| Created | On the reference run |
|---|---|
Two running containers |
|
The address |
|
The database credentials |
|
The deployment |
ArgoCD application |
The build |
Argo workflow |
Your copy of the code |
|
Step 4. Next steps
To undo: Delete the app in Thinkube Control.
-
Change your app and ship it: add an endpoint, test it and push it live.
-
Run a pipeline from your app: long jobs your app submits.
-
Publish your app as a template: publish it for others.